Have you ever looked at your garden or backyard and thought, “This space could use a little more personality, maybe a splash of color, something unique that really reflects me”? Well, my friend, you’re in for a treat!
Let me introduce you to the wonderful, vibrant world of outdoor mosaics—where creativity has no boundaries, and you can turn the most mundane of spaces into a stunning work of art. Now, I’m not going to lie—I used to think creating a mosaic sounded super complicated, like something that required years of artistic experience or a Michelangelo-level skill set.
Turns out, I was so wrong! Mosaics are not just for professionals or fancy art studios. They’re for anyone who loves playing with color, texture, and, let’s be honest, breaking things (intentionally this time, don’t worry). If you’re looking to add a little charm to your outdoor space, this guide is here to walk you through the process, step-by-step.
Step 1: Gather Your Materials
The first step in any mosaic project is to gather the right materials. Outdoor mosaics require materials that can withstand the harsh effects of weather, from sun and rain to freezing temperatures. Here’s what you’ll need:
| Category | Description | Examples |
| Base (substrate) | The surface on which your mosaic will be applied. Choose durable materials that can withstand outdoor elements. | Concrete, Cement backer board, Terracotta, Stone. Avoid wood as it can rot or warp. |
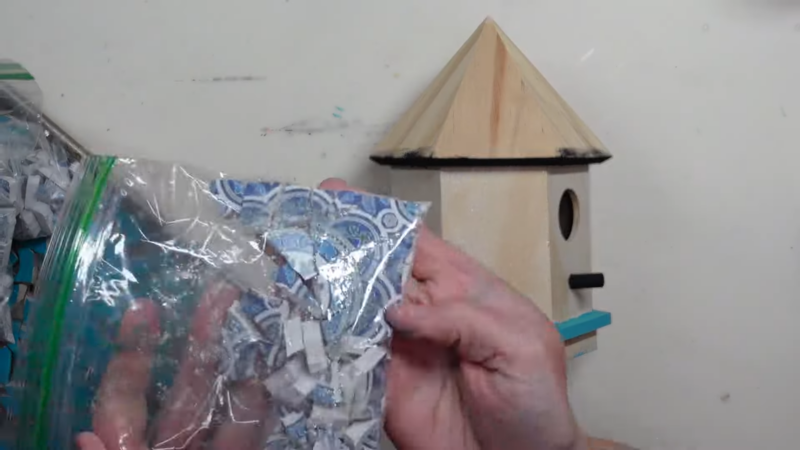
| Tiles or Tesserae | Individual pieces that make up your mosaic design. Can be sourced from various materials. | Ceramic tiles (broken or whole), Glass tiles or gems, Stones, Pebbles, Shells, Mirrors, Recycled materials (old pottery or dishes). |
| Tile Adhesive | A strong adhesive essential for outdoor mosaics. Thin-set mortar is recommended as it can endure outdoor conditions. | Thin-set mortar. |
| Grout | Fills the gaps between tesserae, giving the mosaic a finished look. Use a grout designed specifically for outdoor use. | Outdoor grout. |
| Sealer | Protects the finished mosaic from moisture and weather. Decide a sealer that is waterproof and UV-resistant. | Waterproof and UV-resistant grout sealer. |
| Tools | Various tools needed for cutting, applying, and cleaning up while making your mosaic. | Tile nippers, Grout float or squeegee, Sponges and rags, Safety goggles, Gloves, Pencil or chalk for drawing your design. |
Step 2: Design Your Mosaic
Before you start gluing anything down, you’ll need to create a design. This is the fun part where you can really let your imagination run wild! Here’s how to start:
Sketch your design
Use a pencil or chalk to draw your design directly onto your base. If you’re not confident in freehand drawing, you can print out a pattern, place it on your base, and trace around it.
Choose a color scheme
Color is one of the most powerful elements in mosaic art. You can opt for a natural, earthy palette using stones and terracotta tiles, or go for something more vibrant and colorful with glass and ceramic.
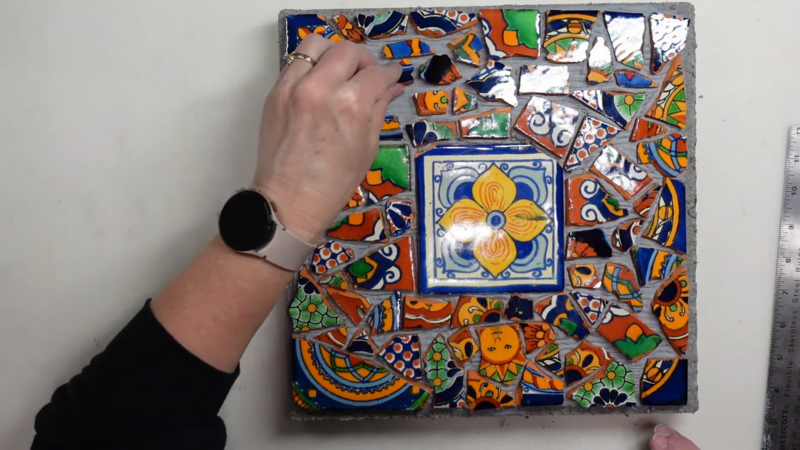
Create a focal point
Decide on the main feature of your design—whether it’s a large motif, such as a flower or sunburst, or something more abstract like swirling shapes.
Test your arrangement
Before adhering the tiles, lay them out on the surface to get a feel for how everything will look. This will help you adjust spacing and make changes before things become permanent.
Step 3: Prepare the Base
Now that your design is sketched out and your materials are ready, it’s time to prepare your base.
- Clean the base: Whether you’re working with concrete, stone, or terracotta, make sure your base is clean and free of dust or dirt. A dirty surface can prevent the adhesive from sticking properly.
- Seal porous surfaces: If you’re working with terracotta or concrete, it’s a good idea to apply a primer or sealant to prevent the surface from soaking up too much moisture.
- Prepare your thin-set mortar: Mix the thin-set mortar according to the manufacturer’s instructions. It should have a peanut butter-like consistency—not too runny, but easy to spread.
Step 4: Apply the Tesserae
With your base ready, it’s time to bring your design to life by applying the tiles or tesserae.
Work in sections
Spread a small section of the thin-set mortar over your base using a notched trowel. Don’t cover the whole base at once—thin-set dries quickly, and you’ll want time to adjust your tiles.
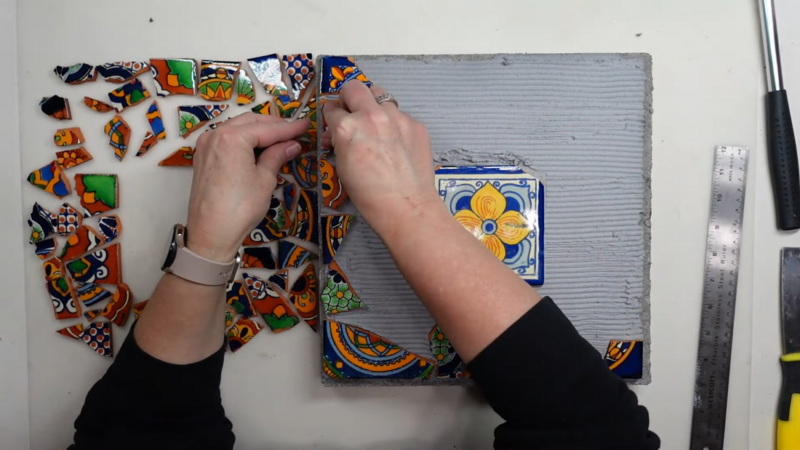
Apply the tiles
Press each piece of tesserae into the mortar, wiggling it slightly to ensure it adheres well. Leave small spaces between each piece for the grout.
Cut tiles to fit
Use tile nippers to cut tiles into the desired shapes. This is especially useful for intricate designs, curves, and edges.
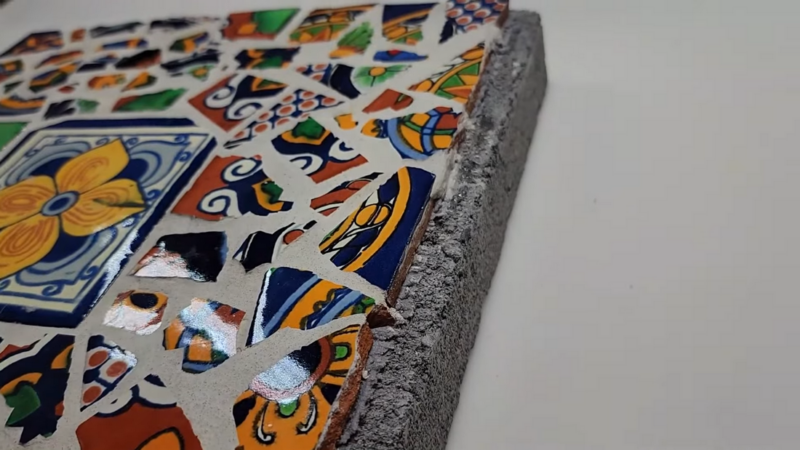
Keep it level
As you place your tiles, make sure they’re sitting at the same height. Uneven tiles can create a bumpy surface, which may be difficult to grout and could collect water.
Let it dry
Once you’ve completed placing the tesserae, allow the adhesive to dry for at least 24 hours before moving on to the next step.
Step 5: Grouting the Mosaic
Grouting is what ties the whole mosaic together, filling in the gaps between your tesserae and giving the piece a cohesive, polished look. Follow the manufacturer’s instructions to mix your grout. The consistency should be similar to toothpaste—thick but workable.
Using a grout float or squeegee, spread the grout over the surface of your mosaic, making sure to push it into all the gaps. Work in a diagonal motion to avoid pulling the grout out of the spaces between the tiles.
After the grout has been applied, use a damp sponge to wipe away the excess grout from the surface of the tiles. Be gentle—don’t remove the grout from between the tesserae. Rinse the sponge frequently in clean water to avoid smearing grout over the tiles.
After about 20–30 minutes, when the grout has started to harden, use a dry cloth or sponge to polish the surface and remove any haze left by the grout.
Step 6: Seal Your Mosaic
Outdoor mosaics need to be sealed to protect them from moisture, temperature changes, and UV rays. Sealing your mosaic will also enhance the colors and keep it looking fresh for years to come. Look for a sealer designed for outdoor use, with waterproof and UV-resistant properties. These are typically available at home improvement stores.
Once the grout has cured, apply the sealer according to the manufacturer’s instructions. This often involves using a sponge or brush to coat the surface. Make sure to apply the sealer evenly, covering both the tiles and the grout.
Depending on the climate and the exposure to the elements, you may need to reapply the sealer every few years to maintain protection.
Maintaining Your Mosaic
One of the best parts about creating an outdoor mosaic is that, once completed, it requires minimal maintenance. However, a little upkeep will help ensure your mosaic remains beautiful for years to come.
- Clean regularly: Dust and dirt can accumulate over time, dulling the appearance of your mosaic. Clean it periodically with water and a soft brush.
- Check for cracks: If any tiles or grout begin to crack or come loose, repair them promptly to prevent further damage.
- Reapply sealer: As mentioned earlier, reapply the sealer every couple of years or as needed, especially if your mosaic is in a high-traffic area or exposed to harsh weather.
Let Your Creativity Shine
And there you have it—your very own outdoor mosaic masterpiece! Can you believe how much fun that was? I don’t know about you, but there’s something so satisfying about looking at your finished piece and knowing that it started as a pile of random bits. And ended up as an artistic statement for your garden, patio, or walkway.
Not only did you turn some broken tiles and old pottery into a work of art, but you’ve also added a little more personality to your outdoor space—a space that’s now a reflection of your creativity and vision. Plus, every time someone comments on it (and trust me, they will!), you get to say, “Oh, this? I made it!”- and bask in those well-deserved compliments.