When it comes to home improvement, one question often asked is: “Can you tile over a brick wall?” To answer it briefly: yes, you can! However, this is a task that involves a bit more complex than your average DIY project.
Understanding the ins and outs of the tiling process will ensure a smoother and more successful endeavor. Therefore, let’s delve into the nitty-gritty of tiling over a brick wall, exploring the techniques involved, tips for success, and potential pitfalls to avoid.
The Basics
Before starting, it’s important to understand why someone would want to tile over a brick wall in the first place. The primary reason is aesthetics – tiling can offer a sleek, modern look that might be more in line with your home’s decor than exposed brick. In addition, tiles can be easier to clean and maintain, especially in high-traffic areas.
Brick walls can be a bit challenging because they are not as smooth or as uniform as drywall or cement board – common substrates for tiling. Bricks may have uneven surfaces, and mortar joints may create gaps and ridges. However, with the correct preparation and techniques, tiling over a brick wall can be an achievable task.
Step-by-Step Guide to Tiling Over Brick
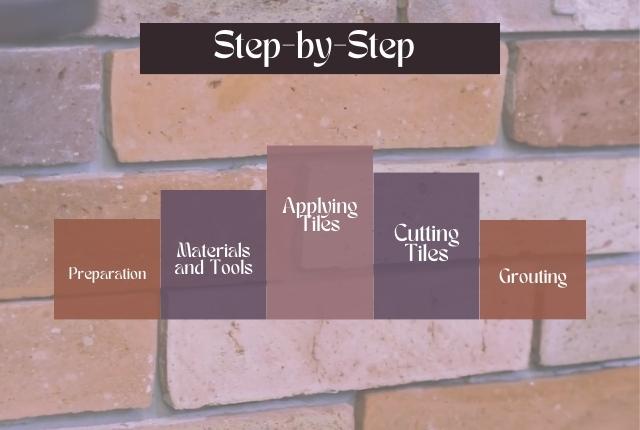
1. Preparation
Like any tiling project, preparation is key. Start by inspecting the brick wall. If there are any loose bricks or crumbling mortar, you’ll need to address these issues first. Use a masonry repair product to secure loose bricks and fill in any voids in the mortar.
The surface needs to be as flat and even as possible. Depending on the state of the brick wall, you might need to apply a thin-set mortar to create a smooth surface. Be sure to let this dry fully before moving on to the next steps.
2. Materials and Tools
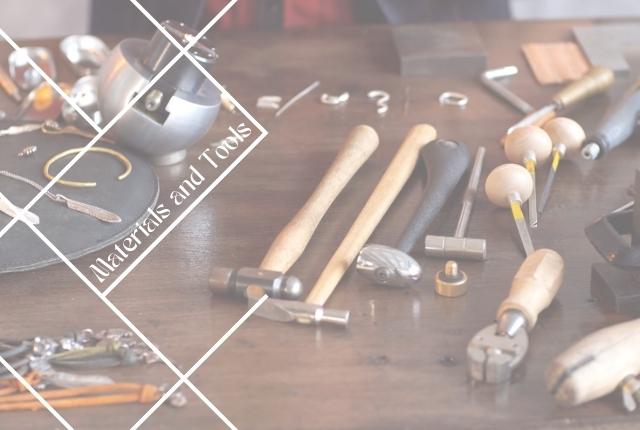
Next, you need to gather your materials. Choose tiles that are suitable for your design vision. You will also need tile adhesive (thin-set mortar), a notched trowel for applying the adhesive, tile spacers to ensure even spacing, a tile cutter or saw for any cut pieces, grout, and a grout float for application.
Safety should always be a priority. Consider using safety glasses, a dust mask, and gloves when handling materials and cutting tiles.
3. Applying Tiles
Once your wall is prepared, and your materials are gathered, you can start applying your tiles.
Apply thin-set mortar to the wall using your notched trowel. Hold the trowel at a 45-degree angle to create ridges in the mortar. This will help the tiles adhere more strongly.
Press each tile firmly into the mortar. Tile spacers will help ensure even distribution.
4. Cutting Tiles
Measure and cut tiles to fit at the ends of your rows or around any outlets or fixtures. A wet tile saw is ideal for this purpose, but a manual tile cutter or a pair of nippers can also work.
5. Grouting
After the mortar has dried (usually 24 hours), it’s time to grout. Apply the grout with a grout float, pressing it firmly into the spaces between the tiles. Be sure to remove excess grout from the surface of the tiles with a damp sponge.
Pro Tips for Tiling Over Brick
- Choose the Right Tiles: Not every type of tile is suitable for tiling over brick. Porcelain and ceramic tiles are typically recommended due to their durability and range of design options.
- Seal the Brick First: Brick is highly porous, which means it can absorb the moisture from the thin-set mortar, causing it to dry too quickly and potentially compromise the bond with the tile. Sealing the brick with a masonry sealer before applying the thin set can help avoid this.
- Use the Correct Adhesive: It’s crucial to use a high-quality thin-set mortar designed for your specific type of tile and brick. Some types of thin-set have additives that increase flexibility and bonding strength, both of which are beneficial when tiling over brick.
Potential Pitfalls to Avoid
There are a few common mistakes to watch out for when tiling over brick.
- Rushing the Prep Work: Failing to properly prepare the brick surface can lead to an uneven finish and potentially cause the tiles to not adhere properly.
- Inadequate Sealing: As mentioned above, brick is porous, so it’s crucial to properly seal the brick before you begin tiling.
- Incorrect Grouting: Ensure you remove excess grout from the surface of the tiles before it dries. Once the grout has dried, it is much harder to remove.
Additional Considerations for Tiling Over Brick
While we’ve covered the basic process and offered some professional tips for tiling over a brick wall, there are a few more considerations to make.
Patterns and Design
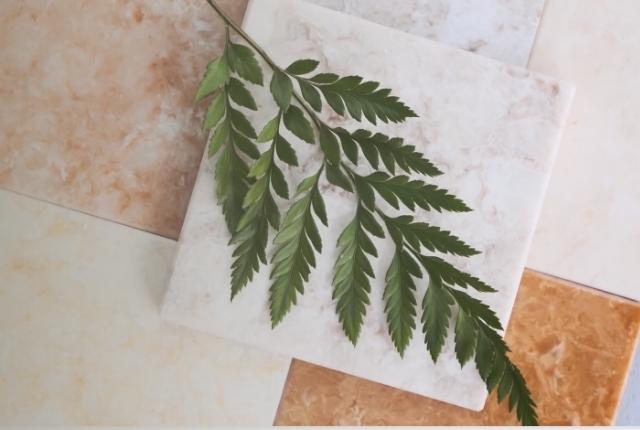
Choosing your tile design is one of the most exciting parts of the process! It can drastically change the look of your space. When deciding on a pattern, you’ll want to consider not only your personal style but also the practical implications. For example, a simple grid pattern is easier to lay out and install, while herringbone or other intricate designs require more cutting and planning.
Don’t forget about grout color, either. It can significantly affect your overall design. A grout color that contrasts with your tiles will make the pattern stand out more, while a matching color will give a more seamless look.
Cost Considerations
Tiling over a brick wall can be more expensive than tiling over other surfaces due to the added preparation work. The cost of materials like masonry repair products, sealer, and potentially more adhesive can add up. Additionally, you may need specialized tools like a wet tile saw if you don’t already own one.
Professional Assistance
While tiling over the brick is an achievable DIY project for a handy homeowner, it might be a good idea to consult with a professional. They can evaluate the condition of your brick wall and provide guidance on whether tiling is the best option or if other solutions might be more appropriate.
If your project is particularly large or complex, or if the wall is in bad shape, you might want to consider hiring a professional to do the work. It can be worth the investment to ensure the job is done correctly and will stand the test of time.
Closing Thoughts
Tiling over a brick wall can be a challenging yet rewarding DIY project. With a detailed understanding of the process, the right materials, and a fair dose of patience, you can transform an outdated brick wall into a stunning tiled surface. Just remember, preparation is key, and taking the time to do it right will pay off in a beautiful and durable new wall that enhances your home for years to come.

